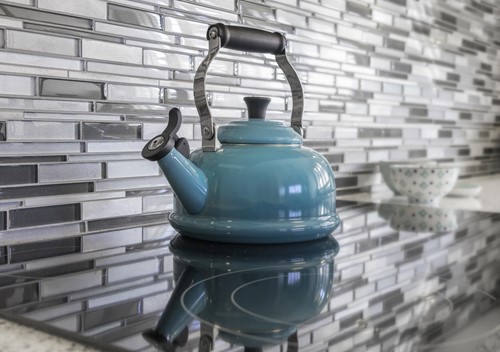
The word is out! Tile is back, and we couldn't be happier. No other medium finishes the look of a kitchen like a tile backsplash. And regardless of your skill level, with a little patience, almost anyone can create a stunning tile backsplash. Here's how it's done!
Tiles come in all sizes, mediums and configurations. When choosing a tile, consider how well it fits within your overall kitchen style, any maintenance requirements and installation difficulty level.
Some materials include:
If you're looking for less of a challenge or are short on time, you can take shortcuts and still create a durable and beautiful backsplash you'll love. Look for tiles that are peel & stick such as subway tiles or groupings of small tiles bound together in a grid.
Look under cabinets and across the wall to see if dust, grease or cobwebs linger. You'll want those out of your way before you begin. Let the wall dry entirely if you need to use a damp cloth.
If the backsplash isn't resting against the back of a countertop, use your level to align and nail a temporary 1X4" board to the wall to support the lowest layer of tiles while they cure.
*Pro tip* Read instructions provided by the tile manufacturer. They may have additional prep and installation advice specific to their product. Don't ignore it!
Before you lay a single drop of mortar, plan and measure. Make sure you have the right number of tiles, including cut half tiles, if necessary.
Always start at the bottom and work your way up, leaving 1/8 inch gap at the bottom to allow for expansion. Apply the thin-set with the trowel in a wavy motion, covering only a small section at a time.
Then begin placing your tiles with a slight twist to engrain the adhesive. Use your rubber float to press down on tiles evenly and then add a spacer between each to both hold them in place and ensure they're equally set apart. Repeat until your entire tile backsplash is in place.
Let the backsplash cure for at least 24 hours from the moment you set the last tile. Then remove your spacers and mix up your grout. Completely cover the tiles, ensuring it works its way between them. After 10 minutes, clean the surfaces of your tiles with a moist sponge, leaving the grout behind.
And you've just created a tile backsplash. For more fun and affordable ways to enhance your home, follow our blog.

Connie has been in the Tampa Bay area for over a decade. She has worked with customers and clients from many different backgrounds. Connie has great communication skills, her attention to detail and prompt follow up are attributes her customers appreciate. She is very dedicated to listening to her customers needs. She loves the opportunity to assist her clients with professionalism and courtesy. If you are selling your home or looking for the perfect home to buy, Connie would love the opportunity to serve you.